

XBee Studio is divided into three main sections: the sidebar, the device browser, and the workspace.
Sidebar
The sidebar is located on the left side of the application and provides quick access to the device browser (Home) and the main features of XBee Studio. Each category opens a step-by-step wizard that guides you through the available operations and tools.
For details about the different categories, see Explore other functionality.
Device browser
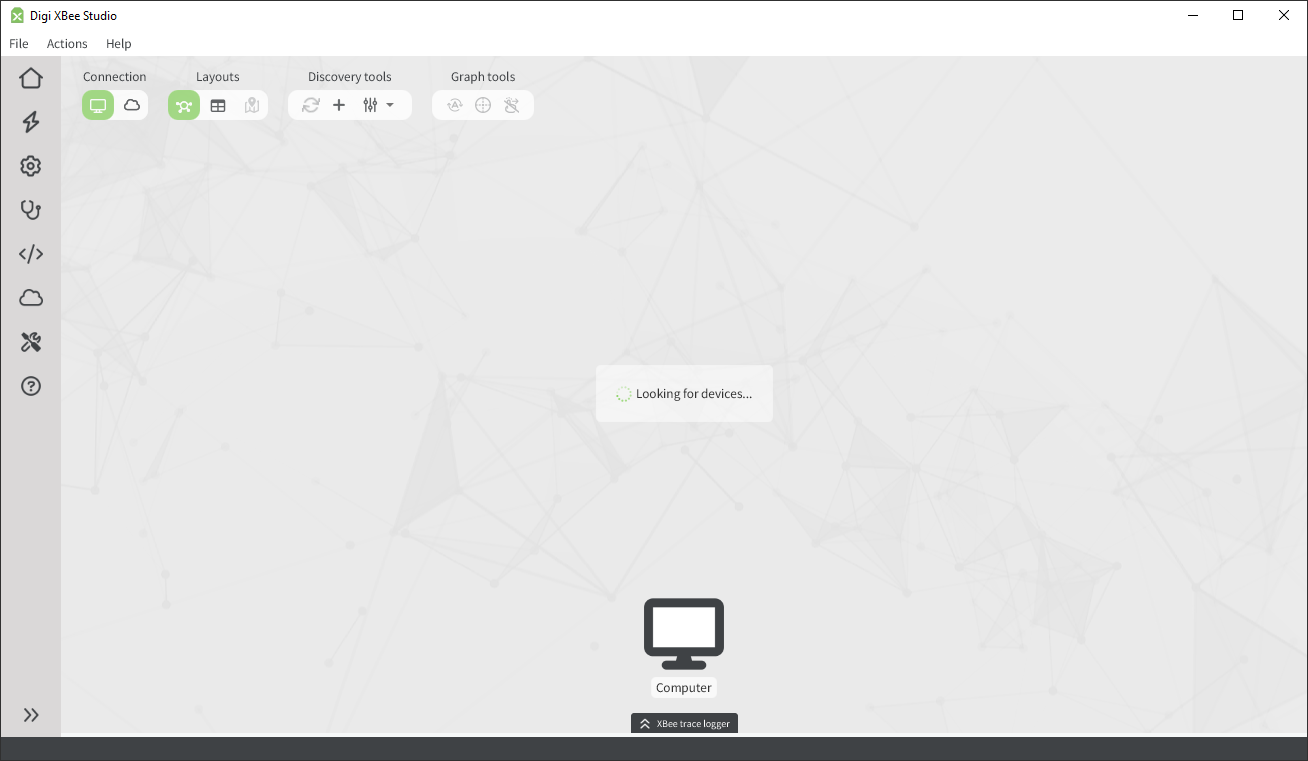
The device browser is the largest area, located in the center of the application.
XBee Studio automatically searches for XBee devices connected to your computer, or any XBee border router accessible through your IP network, or linked to your Digi Remote Manager® account(s), and displays them with their address and connection type.
You can switch the view to cloud-based devices by clicking the cloud icon in the connection switch in the top toolbar.
| To view and manage cloud-based devices, you must first add your Digi Remote Manager® account(s). See Remote Manager for details on how to do this. |
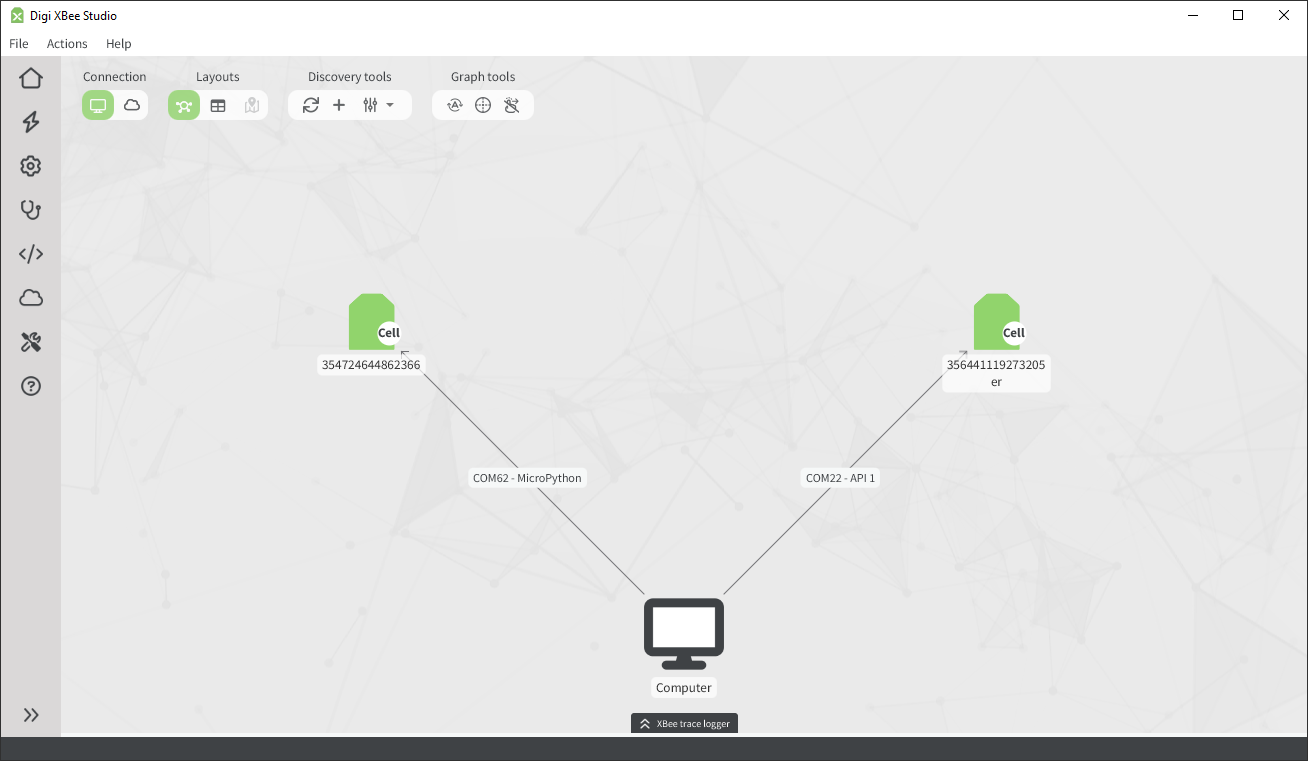
Graphical view
By default, XBee Studio displays devices as nodes around a root node (computer or cloud, depending on where the devices are discovered). Each device node shows its name, unique address (IMEI for XBee 3 Cellular, 64-bit address for XBee RF, or serial number for XBee border routers), and protocol. The connection line shows serial port or IP information, or the associated cloud account.
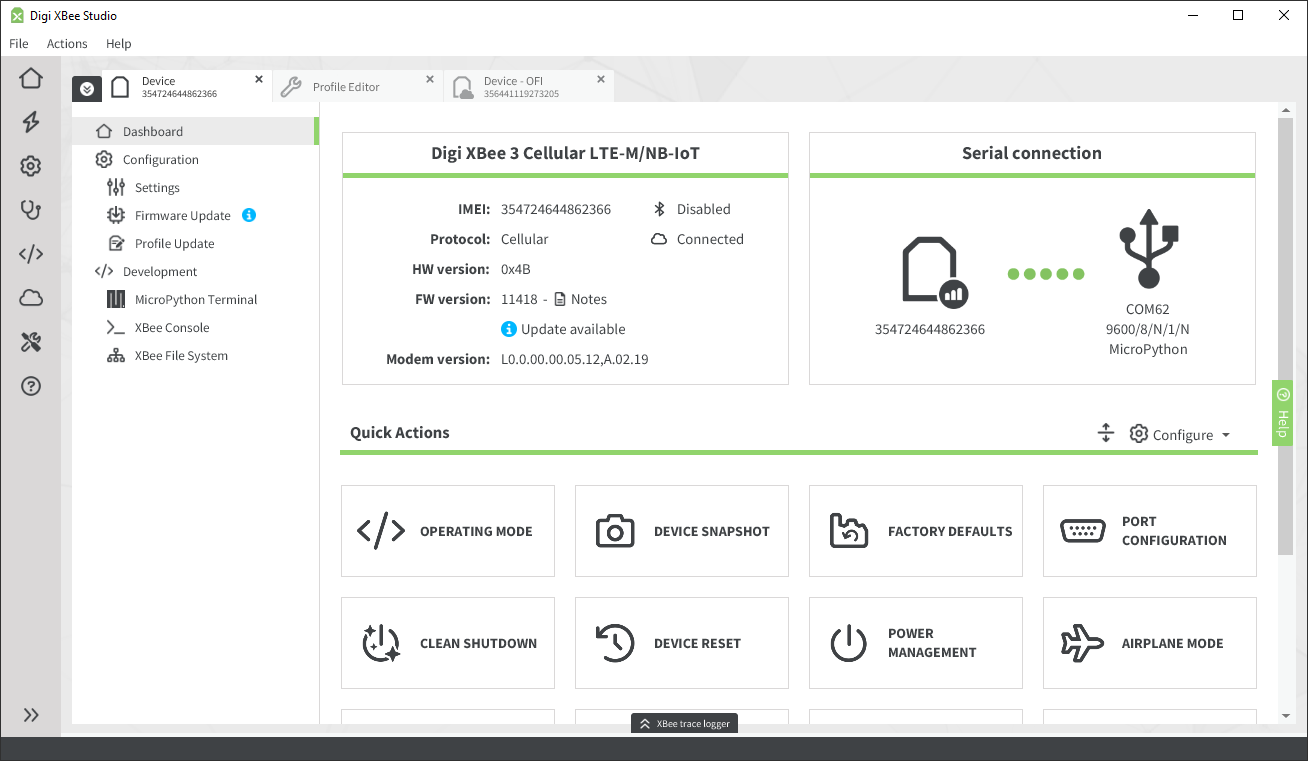
When hovering over a device, XBee Studio displays shortcut buttons for the most common operations. You can also click a device node to open its Dashboard.
In the top-right box, you can control how devices are displayed:
-
Enable/disable auto layout: Automatically arranges devices dynamically in real time.
-
Switch to circular/arc layout: Arranges devices in a circle or in an arc around the root node.
-
Disable/enable manual positioning: When disabled, devices cannot be dragged or manually repositioned.
Table view
XBee Studio can also display devices in a table format, which is useful when you have many devices or prefer a more structured layout.
To switch to this view, click the Table view button in the layout switch on the top toolbar.
As in the graphical view, the table view shows basic information for each device and allows interaction with common functionality.
When more than 10 devices are discovered, XBee Studio automatically switches to table format and disables the graphical view. The graphical view is re-enabled once the number of devices drops below 10.
Device discovery tools
The top-left box contains the following buttons:
-
Refresh: Starts a new discovery process.
The spinning refresh icon indicates that a discovery is in progress; it stops once the process completes.
-
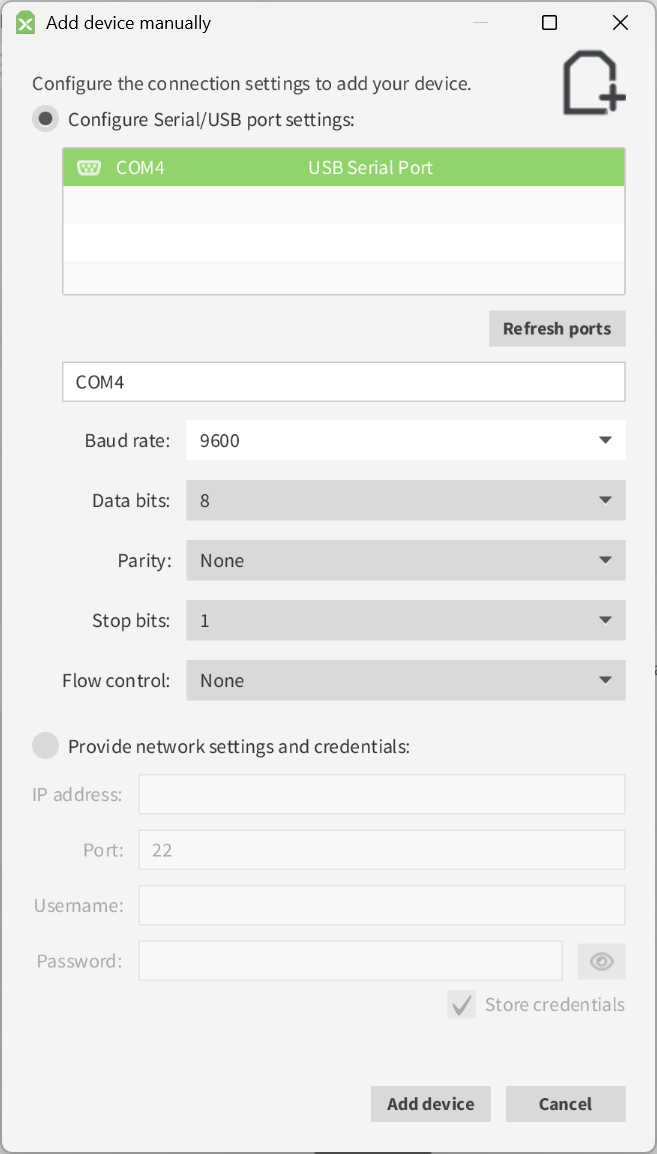
Add device manually: Initiates a manual discovery for a specific device.
Select how you want to connect to the device:
-
Configure Serial/USB port settings: Choose or type the serial or USB port name and enter its configuration parameters.
Use this option when you know the serial port configuration of a device and that differs from XBee Studio’s default—baud rate 9600, 38400, or 115200; data bits 8; parity none; stop bits 1. This feature is available only for local discovery.
-
Provide network settings and credentials: Enter the IP address, port number, and authentication credentials for the device.
Use this option to manually add an XBee border router accessible through the IP network.
Once you provide the correct settings, click Add device to start the discovery process. The discovered device appears in the device browser.
-
-
Discovery settings: Opens a dropdown menu with the following options:
-
Enable auto-discovery: Enables or disables automatic discovery whenever a new a new device is connected/disconnected from the PC or added/removed from your Digi Remote Manager® account.
It is enabled by default.
-
Stop discovery: Stops the current discovery process.
-
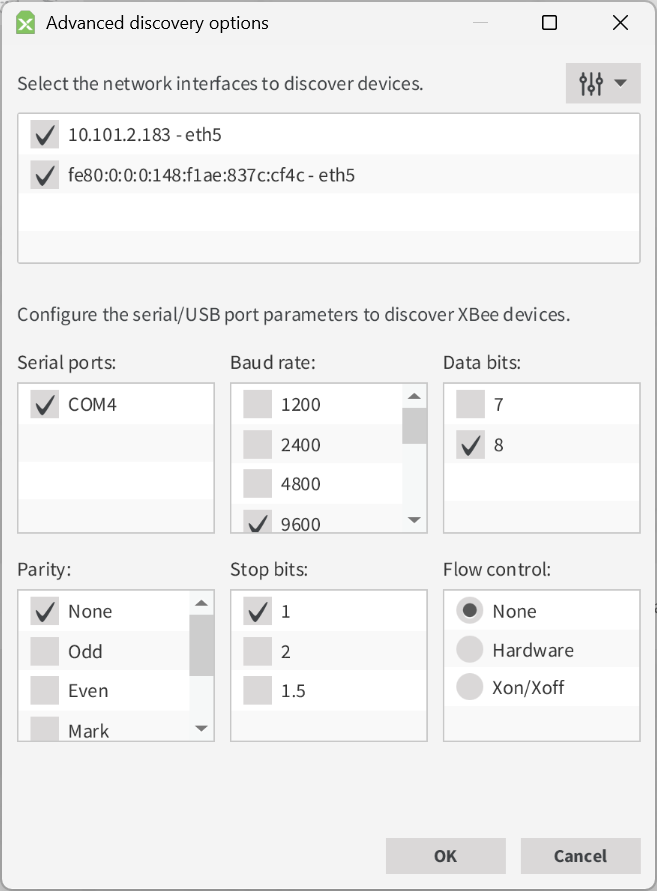
Advanced discovery options: Opens a dialog to configure discovery parameters.
You can configure advanced options depending on the type of discovery:
-
For local devices: Exclude or include specific serial/USB ports and define port parameters to discover XBee modules connected directly to your computer.
-
For IP-based devices: Select the network interfaces to use when discovering border routers accessible through an IP network.
-
For cloud discovery: Choose to search across all Digi Remote Manager® groups or limit the search to specific ones.
-
-
Clear devices: Clears the list of discovered devices.
If any devices are currently in use, a confirmation dialog appears before closing them.
-
Workspace
The workspace is the main working area of the application.
It is organized in tabs and layered over the device browser. Each tab represents either a device or a XBee Studio tool, allowing you to switch between them at any time. This means you can continue working with other devices or tools while a process is running on one device.
Tabs can be detached from the main window by dragging them out or by right-clicking and selecting Detach. This is useful when you want to keep multiple views visible at once.
The workspace can be collapsed by clicking the Home button in the sidebar or the Expand/Collapse button (the leftmost icon) in the tab header.