Before connecting your device to Remote Manager, you must create a new account if you don’t already have one. Go to https://www.digi.com/products/cloud/digi-remote-manager.
Follow these steps to connect your device to Digi Remote Manager:
1. Add your device to Remote Manager
Before you can monitor and manage your device, you must add it to your Remote Manager account. To do so:
-
Log in to your Remote Manager account (https://remotemanager.digi.com).
-
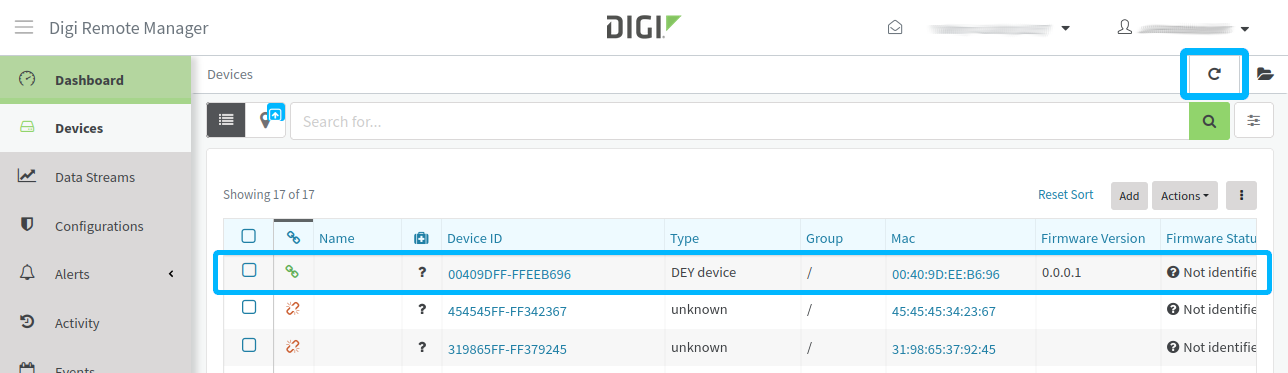
Select Devices on the left navigation bar to display a list of the devices registered in your account.
-
Click Add. The Add Devices dialog appears.
-
Write the Ethernet MAC address of your device and click Add Device.
You can find the Ethernet MAC address on the front white label of the device.
-
Click Add Device to register the device to your account. A new entry for your device appears in your device inventory.
2. Connect your device to Remote Manager
If you are using dey-image-webkit image, skip this step.
The device connects to Remote Manager automatically.
|
Once the device is added to your account, connect the device to Remote Manager:
-
Open a serial connection to the serial port to which the device is connected. Use the following settings:
-
Port: Serial port to which your device is attached
-
Baud rate: 115200
-
Data Bits: 8
-
Parity: None
-
Stop Bits: 1
-
Flow control: None
-
-
Power on the device.
-
Execute the
cloud-connectorapplication:# cloud-connector -
Press the Refresh button on the Remote Manager toolbar. The device appears as connected on your list of devices.