Get started with Connect EZ 16/32
This section explains what comes with each Connect EZ model, how to install the necessary software, and how to connect the hardware.
For a list of the Connect EZ 16/32 variants, see the applicable hardware list.
Before you begin: Register your Connect EZ 16/32
Welcome to the Digi family! Register your new Connect EZ 16/32 today and start enjoying a suite of exclusive benefits, including centralized management and 24/7 technical support. Click here to register now!
Step 1: Open the box and remove components needed for the initial install
You will need:
| Equipment | Description | |
|---|---|---|
|
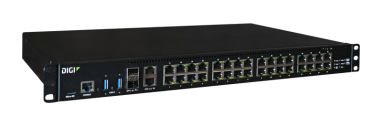
Connect EZ 16 OR Connect EZ 32 |
Note This image is of Connect EZ 32. The Connect EZ 16 has a blank panel covering the top row of serial ports. |
|
| Ethernet cable |
|
|
| Loopback plug |
|
|
| Welcome card | The password used to log into the web UI for the device is printed on the back of the card. |


For information about all of the Connect EZ 16/32 components, see Connect EZ 16/32 component list.
In addition to the components in the box, you will need to supply the following:
| Equipment | Description |
|---|---|
|
Power cord |
A national mains power cord. Depending on the device variant ordered, a power cord may be supplied. At least one power cord is required to power the device. If your device is dual-powered, a second power cord is recommended. For AC power supplies: Use an appropriate power cable meeting national standards to connect to a standard outlet.
|
Step 2: Connect the power supply
-
Orient the device so the back of the device is facing you.

-
Connect the power cord to at least one power supply on the device.
-
Plug the other end of the power cord to a main power supply.
-
If your device is dual-powered, repeat the process for the second power supply.
Note If your device is single-powered, you can purchase and install an additional power supply unit. See Install an additional power supply unit.
Step 3: Connect to site network using an Ethernet LAN
-
Orient the device so the front of the device is facing you
- Connect one end of an Ethernet cable to your site network.
- Connect the other end of the Ethernet cable to the ETH 1 port on the Connect EZ.

Step 4: Configure RealPort using the Digi Navigator
In this step, you will download and install Digi Navigator and configure RealPort.
-
Connect one end of the second Ethernet cable to the ETH 2 port on your device and the other end to your computer or local network.

-
Download the Digi Navigator.
- Navigate to the Digi Navigator support page.
- Scroll down to the Product Resources tab, and in the Drivers & Patches section, click Digi Navigator.
- From the list box, select the appropriate Microsoft Windows option from the list of driver options.
- Click the download link to download the Digi Navigator application.
- When the download is complete, click on the downloaded .exe file. The Digi Navigator Setup wizard displays.
-
In the License Agreement page, review the agreement and select the I accept the agreement option.

- Click Next. The Select Destination Location page displays. You can leave the installation location as the default, or click Browse to select a different location.

- Click Next. The Select Additional Tasks page displays.
If you want to create a shortcut for the Digi Navigator, select the Create a desktop shortcut option.

- Click Next. The Ready to Install page displays.

-
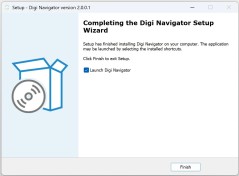
Click Install to start the installation. When complete, the Completing the Digi Navigator Setup Wizard page displays.
The Launch Digi Navigator option is selected by default. De-select this option if you don't want the Digi Navigator to automatically launch each time you boot your computer.
-
Click Finish to complete the installation process. If the Launch Digi Navigator option was selected, the Digi Navigator launches.
-
Configure RealPort on the device.
-
Click Configure Device for RealPort. The Enter Device Credentials page displays.
-
In the Enter Device Credentials page, enter the device's default user name and password in the Username and Password fields. The default user name is admin and the default password is the unique password printed on the label packaged with your device. If the defaults do not work, they may have been changed. Verify with your system administrator.
-
Click OK.
-
When RealPort configuration is complete, the Success message displays.
-
Click OK to close the message.
-
-
Configure RealPort on your computer. The RealPort service is installed during this process.
-
Click Configure this PC for RealPort. The Select RealPort Features dialog displays.
-
Configure features in the Select RealPort Features dialog.

-
Enable Encryption to enable encryption of data. This is enabled by default.
-
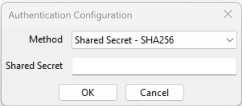
Enable Authentication to configure the authentication method the RealPort server uses to authenticate clients. The Authentication Configuration dialog displays.
-
From the Method list box, select the Shared Secret - SHA256 option.
-
For Shared Secret, enter the authentication password to ensure secure communication. Leave this field blank to disable authentication.
-
-
Click OK.
-
-
The Select Ports dialog displays. By default, all of the ports on the device are selected to be configured for RealPort. De-select the ports that you don't want to configure for RealPort.
-
Click OK. The COM Selection dialog displays.
-
From the Select starting COM list box, select the first COM port that should be configured for RealPort. The first available COM port is selected by default. The number of COM ports configured matches the number of serial ports on the device.
-
Click OK. A series of progress messages displays.
-
When the configuration is complete, a message displays.

-
Click OK to close the message.
-
Step 5: Connect to the web UI and update the firmware
-
From the Digi Navigator, find and expand your device to display the IP address for the device. Information about the device's IP address displays in the right-hand pane.
-
Click on an active service button: HTTPS, HTTP, or SSH. The login screen for the web UI launches.
-
Enter the user name and password for the Connect EZ 16/32 in the Username and Password fields. The default user name is admin and the default password is the unique password printed on the label packaged with your device. If the defaults do not work, they may have been changed. Verify with your system administrator.
-
Click Login.
- On the main menu, click System > Administration > Firmware Update.
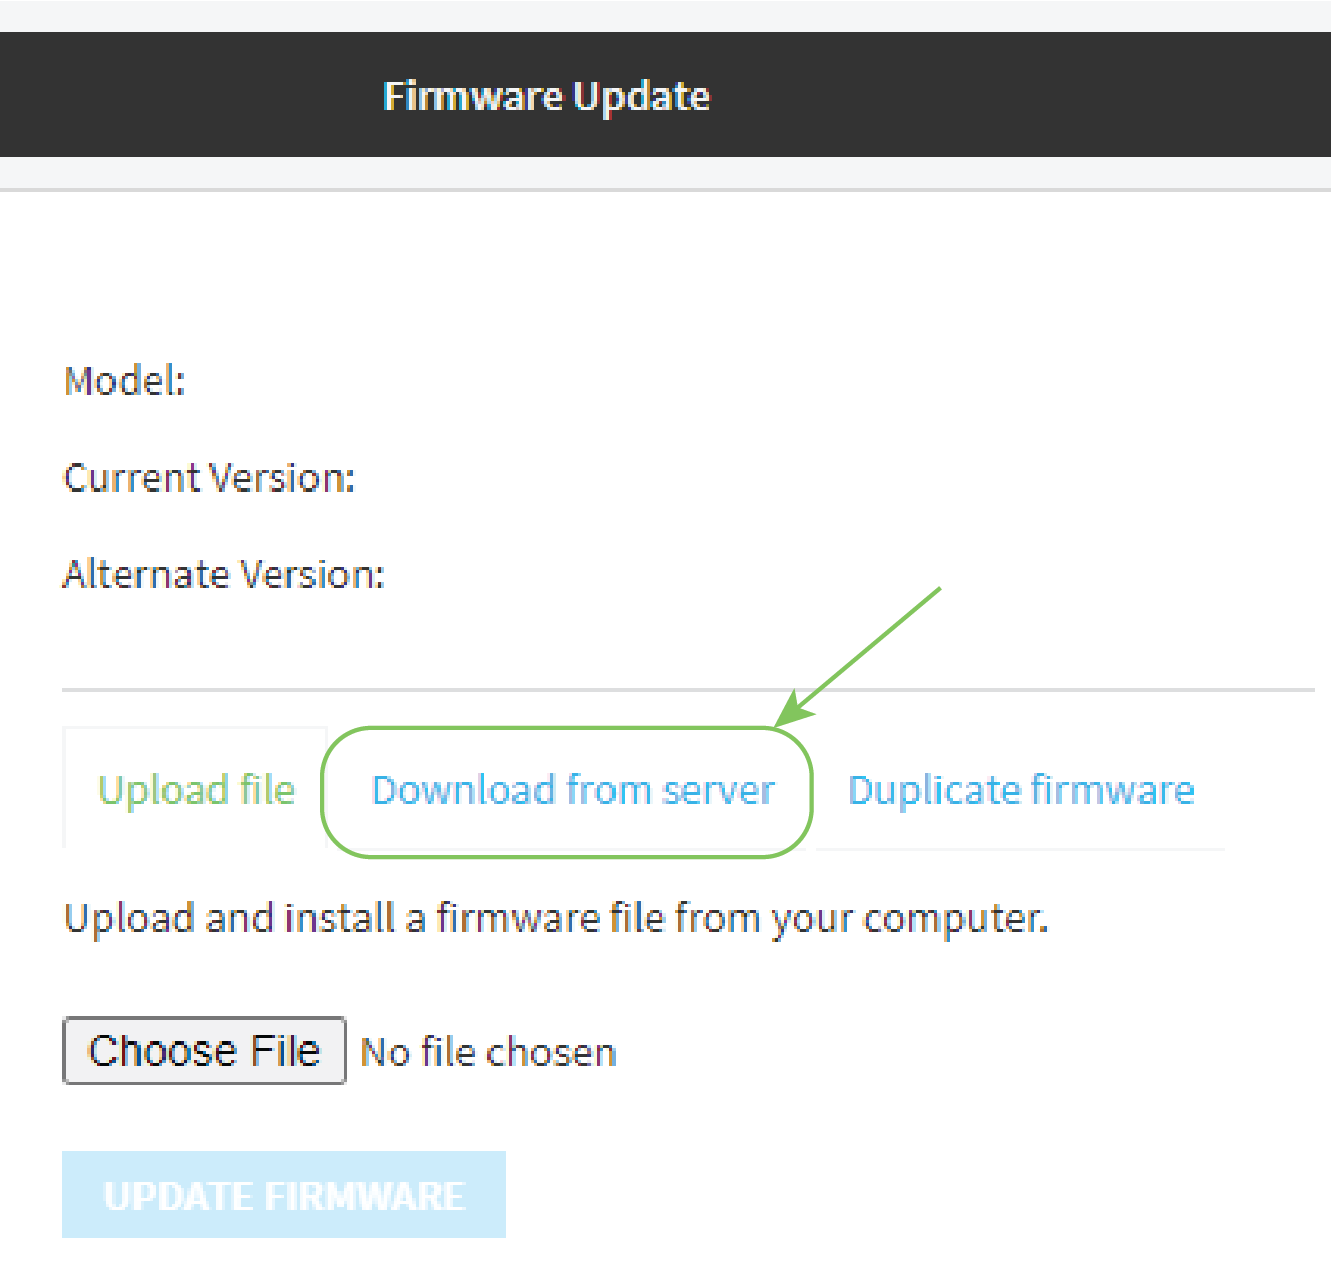
Click Download from server.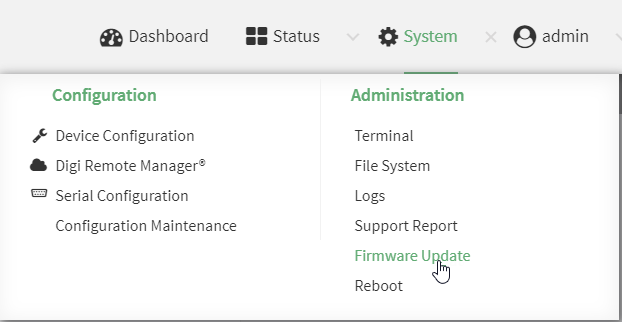
- For Version:, select the most recent version of the device firmware.
- Click Update Firmware.
Step 6: Validate RealPort connection
You can test your connection to a serial port using the loopback plug.
Note Before you begin, make sure a terminal emulator is installed on your laptop.
-
Insert the loopback plug into one of the serial ports on the Connect EZ 16/32.

-
Open your terminal emulator.
-
Select the serial port to which the loopback plug is connected. The port description includes the name of the device, the port number on the device, and related COM port. For example: "COM1: EZ01-E00028-Port 1 (COM1)"
-
Open the port. When the connection has been make, the serial port LED is solid green.
-
Type data (such as "Hello" or "test") into the terminal emulator. The yellow serial port LED flashes as you type.
-
When the loopback plug is inserted, the data will echo back to you.
-
If you remove the loopback plug, the data will not echo back to you.
-
Optional actions
The actions below are optional set-up items.
| Action | Description |
|---|---|
| Power supply unit |
If desired, you can order an additional power supply unit and install it. This enables you to have two power supplies for one device.
|
| Cellular connection |
If you want to use a cellular connection to the Connect EZ 16/32, you can connect the Digi CORE module and cellular antennas to the Connect EZ hardware. |
| Mount the device |
You can mount the device on a rack. |
| Connect to Digi Remote Manager |
Connect to Digi Remote Manger to remotely manage a large number of devices. See Central management. |
| AnywhereUSB ports
|
Your Connect EZ 16/32 includes two USB ports, which act as an AnywhereUSB 2 Plus Hub. The USB ports can only be used in conjunction with the AnywhereUSB Manager, which must be installed separately. |
 PDF
PDF


