Digi EX50 Quick Start
Introduction
Welcome to the EX50 router quick start guide, which walks you through the essential steps to deploy your router efficiently, ensuring you are up and running in no time.
You're here because you scanned the QR code on the Welcome card that came inside the router box.

Before you begin
Review your Digi 360 subscription information.
A CONGRATULATIONS! sticker is now included on the outside of EX, IX, and TX router boxes. This sticker means you have the Digi 360 subscription and all your devices have Digi 360 licenses. Scan the QR code or go to the Digi 360 page on digi.com for information about your subscription, including benefits and warranty.
Keep the extra product label sticker in a safe place.
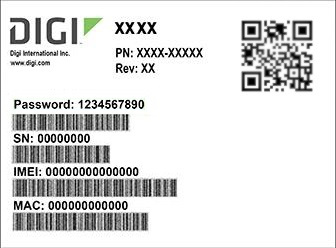
Every Digi router has a product label on the bottom, which has information unique to that device, including product model, part number, QR code, password, MAC address and serial number. There is an identical sticker included in the router box. You can refer to the information on this extra sticker if you do not have access to the hardware. Using the extra product label sticker is the most efficient way to register routers in Digi Remote Manager.
Instructions
Step 1: Set up the router hardware.
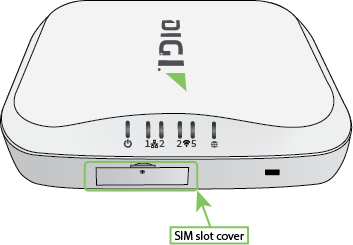
- Insert your activated SIM
Use a Philips #1 driver to remove the SIM slot cover.
-
Insert the SIM card into the SIM socket. Insert the end of the SIM card with the chamfered corner positioned as indicated. Push the SIM in until it clicks into place.

- After SIM card is installed, use a Philips #1 driver to secure the SIM slot cover. Torque screw to 4 in lbs (452 mN m) maximum.
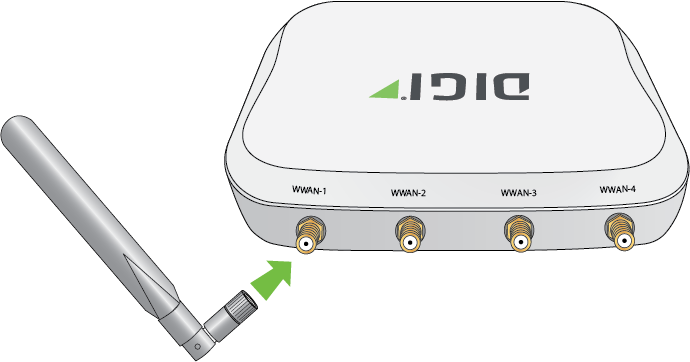
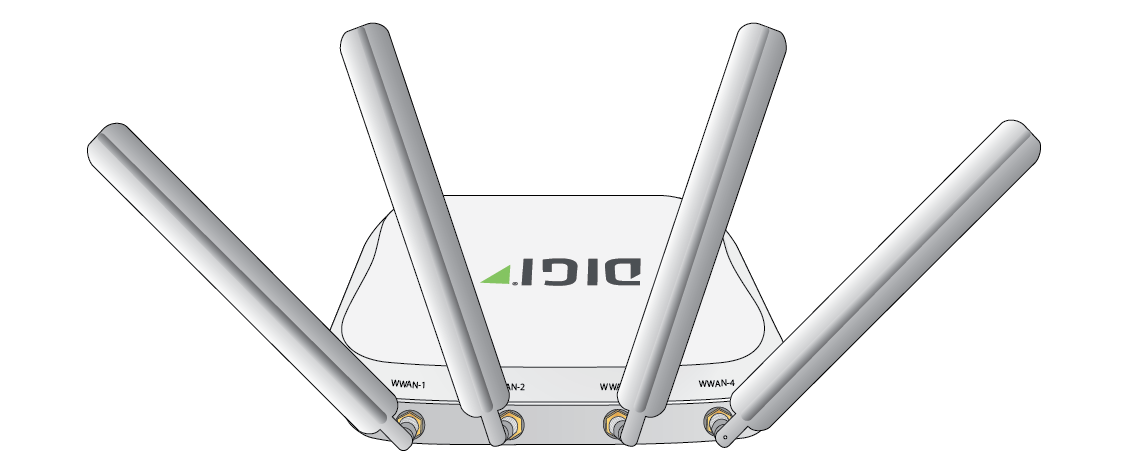
- Attach cellular antennas.
Securely finger-tighten each antenna to the threaded barrel using the nut at the base of the antenna.
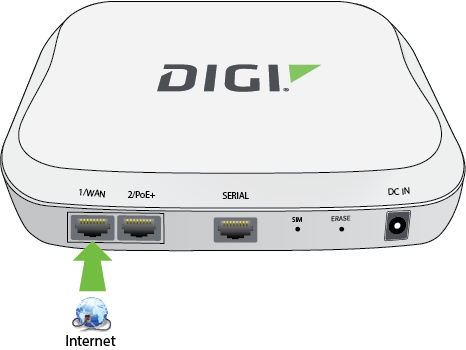
-
Using an Ethernet cable, connect the EX50's 1/WAN port to the internet, such as an office network or LAN Ethernet port in an office environment.
Step 2: Connect DC power.
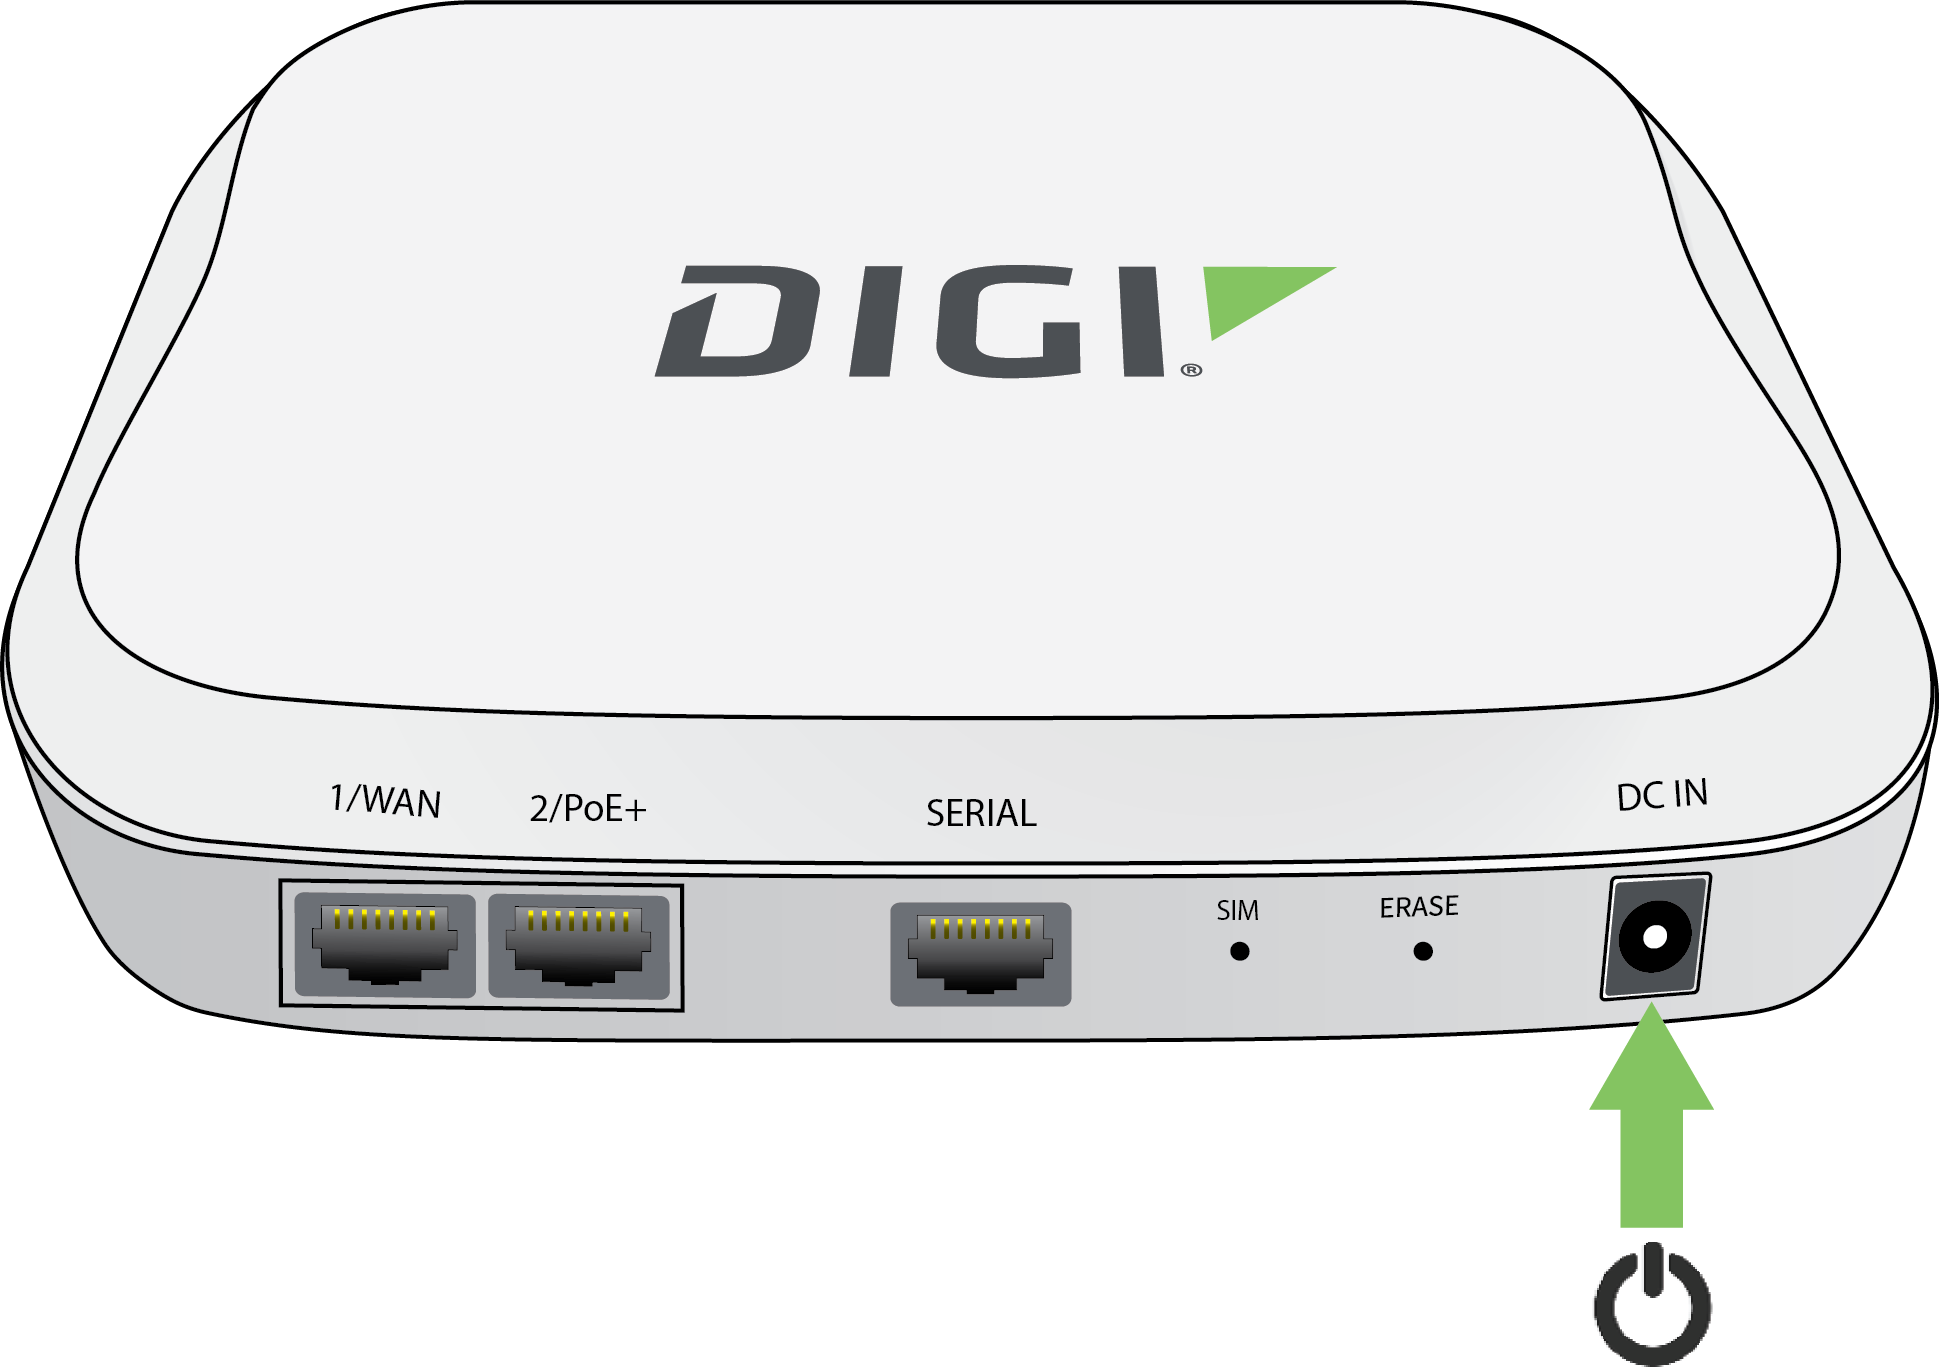
You can also use the 2/PoE+ to power the device using active Power over Ethernet (PoE+).
Step 3: Register for a Digi Remote Manager account.
-
If you need to register a new company account and you have a never-registered Digi 360 router, follow the procedure called Quick start | New Digi Remote Manager account creation in the Digi Remote Manager User Guide. Once you have completed it, you can go to Step 4: Register your device and finish this quick start.
-
If you already have a Digi Remote Manager account, skip to Step 4: Register your device.
-
If you prefer to configure the device locally rather than using Remote Manager, see Configuration and management section of the EX50 User Guide.
Step 4: Register your router.
Register your router in Digi Remote Manager.
Step 5: Complete setup.
-
The device should connect within a couple of minutes.

-
If newer firmware is available, Remote Manager will prompt you to update the device. Click Update to update the firmware. Remote Manager will perform the update in the background and let you know when the device is up to date.
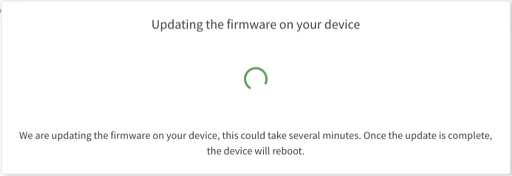
-
Click Done when the firmware update is complete.
Step 6: Configure cellular APN.
If you inserted a SIM in Step 1: Set up router hardware, the device will attempt to setup the APN automatically. However, if your SIM was set up with a custom APN, you will need to configure it manually:
-
Navigate to the Settings tab in the Remote Manager Device Details view.
-
Expand the Config menu item and click on the Network settings menu.
-
Expand Interfaces > Modem >
-
For APN, enter the custom APN provided by your cellular provider.
-
Click Apply.
-
Navigate back to the Details tab and watch for confirmation of cellular connectivity.
Your EX50 router hardware is set up, it is connected to the internet, and registered in Digi Remote Manager.
 PDF
PDF


