Download and install the software
You can use either of the following methods to install the Digi Application Development Environment:
- Digi Application Development Environment installer. This includes:
- Eclipse and all the required plugins, including Digi plugins
- Java Runtime Environment 8
- A pre-installed Eclipse instance. See Install Digi Embedded Yocto plug-ins from Eclipse.
Install Digi Application Development Environment
The Digi Application Development Environment for Linux installer includes:
- Eclipse IDE for C/C++ Developers (https://www.eclipse.org/downloads/packages/eclipse-ide-cc-developers/oxygen1a):
- Eclipse Oxygen.1a Release (4.7.1a)
- CDT 9.3.2
- Eclipse Git 4.8.0
- Mylyn Task List 3.23
- Remote System Explorer 3.7.3
- Digi Embedded Yocto plug-ins
- Java Runtime Environment 8 (JRE 1.8.0_151)
Digi Application Development Environment provides a preconfigured Eclipse instance with all the required plug-ins and features to start creating Digi Embedded Yocto applications. With Digi Application Development Environment, you can:
- Download and install Digi Embedded Yocto toolchains for different Digi platforms.
- Create new C/C++ projects.
- Clone existing Digi Embedded Yocto example applications.
- Compile C/C++ and example applications using Digi Embedded Yocto toolchains.
- Remotely launch and debug applications in your development platform.
Requirements
To install Digi Application Development Environment for Linux you need a development machine with at least:
- Linux 64-bit system (Ubuntu 14.04 or Ubuntu 16.04)
- 4 CPU cores
- 4 GB of RAM
- Free disk space:
- Development environment: 500 MB for the development environment
- Digi Embedded Linux toolchain: Between 3 GB and 10 GB, depending on the platform
Install Digi Application Development Environment
Follow the steps below to download and install Digi Application Development Environment for Linux.
- Download the installer file from: ftp://ftp1.digi.com/support/digiembeddedyocto/eclipse/index.html.
- You must have write permissions in the selected installation path during the installation process. The default directory is /opt/eclipse.
Use the install command to create the installation directory with write permissions:
~> sudo install -o <your-user> -g <your-group> -d /opt/eclipse
Note You can get your primary user and group using the id command.
- When the download is complete, double click the *.run file.
Follow the steps in the installer Setup Wizard.
You can also run it using the Linux terminal.
~> chmod +x <ADE4Linstaller>.run
~> ./<ADE4Linstaller>.run
A Readme dialog appears when the installation is complete.
- By default, the installer launches an Eclipse instance.
Install Digi Embedded Yocto plug-ins from Eclipse
The Digi Application Development Environment for Linux installer includes the Eclipse IDE for C/C++ Developers. See Install Digi Application Development Environment for instructions.
Requirements
To install the Digi plugins from within Eclipse, you need:
- Eclipse IDE for C/C++ Developers (https://www.eclipse.org/downloads/packages/eclipse-ide-cc-developers/oxygen1a):
- Eclipse Oxygen.1a Release (4.7.1a)
- CDT 9.3.2
- Eclipse Git 4.8.0
- Mylyn Task List 3.23
- Remote System Explorer 3.7.3
- Java Runtime Environment 8 (JRE 1.8.0)
- Internet connection
Add the Digi plugins to an existing Eclipse installation
- Go to Help > Install New Software. The Install wizard is displayed.
- Click Add. The Add Repository dialog opens.
- Type Digi Embedded Yocto Eclipse Plug-ins in the Name text box.
- Type ftp://ftp1.digi.com/support/digiembeddedyocto/eclipse/oxygen-updates in the Location text box.
- Click OK. The search process begins. When it finishes, the available plugins are listed in the table.
- Expand Digi Embedded Yocto category and select Digi Embedded Yocto Feature item.
- Click Next and follow the instructions in the wizard.
A Security Warning may appear before finishing the installation. Click Install anyway to proceed.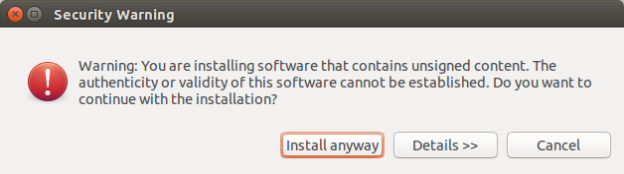
- When the installation process finishes, Eclipse asks you to restart. Click Restart Now.
After the restart, the Digi plugins are available. To set up the environment, see Set up the development environment.


