Configure a managed make project
The Eclipse IDE automatically creates makefiles of managed make projects. Follow these steps to set up the build configuration for a managed make project:
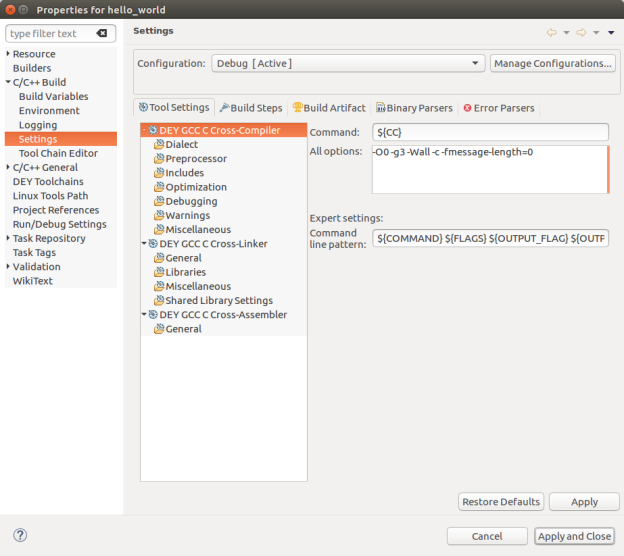
- Right-click the desired project and select Properties.
- Select C/C++ Build > Settings. The right pane displays the options for the build tools such as compiler, linker, and assembler.
- Choose the tool section and configure the possible values on the right. For example:
- Add header files directories
- Add libraries
- Define/undefine macros
- Set optimization level
- Select debug level
- When you finish, click Apply. Use Apply and Close to apply all the changes in the dialog and close it.
Note For more information, see the "C/C++ Development User Guide" at http://help.eclipse.org/index.jsp.
Add header file directories
- Select DEY GCC C Cross-Compiler > Includes.
- In the right pane, click the Add button on the Include paths (-I) section toolbar. The Add directory path dialog opens.
- Type the absolute path to add or use the Workspace and File system buttons to locate it.
- Click OK.
- Repeat steps 2, 3, and 4 to add more directories.
- When you finish, click Apply. Use Apply and Close to apply all the changes in the dialog and close it.
Add libraries
- Select DEY GCC C Cross-Linker > Libraries.
- In the right pane, click the Add button on the Libraries (-l) section toolbar. The Enter Value dialog opens.
- Enter the name of the library to add. The name of a library is between the prefix lib and the extension lib<name>.a or lib<name>.so.
- Click OK.
- Repeat steps 2, 3, and 4 to add more libraries.
- If your library is not included in the toolchain, you can add the path where it is located in Library search path (-L).
- When you finish, click Apply. Use Apply and Close to apply all the changes in the dialog and close it.
Define/undefine macros
- Select DEY GCC C Cross-Compiler > Preprocessor.
- To define a macro:
- In the right pane, click the Add button on the Defined symbols (-D) section toolbar. The Enter Value dialog opens.
- Type the symbol name or name and definition. Click OK.
- Repeat to add more macros.
- To undefine a macro:
- In the right pane, click the Add button on the Undefined symbols (-U) section toolbar. The Enter Value dialog opens.
- Type the symbol name. Click OK.
- Repeat to undefine additional macros.
- When you finish, click Apply. Use Apply and Close to apply all the changes in the dialog and close it.
Set optimization level
- Select DEY GCC C Cross-Compiler > Optimization.
- In the right pane, select the level in the Optimization Level combo box.
- When you finish, click Apply. Use Apply and Close to apply all the changes in the dialog and close it.
Select debug level
- Select DEY GCC C Cross-Compiler > Debugging.
- In the right pane, select the level in the Debug Level combo box.
- When you finish, click Apply. Use Apply and Close to apply all the changes in the dialog and close it.


