Install the Digi Navigator
This section explains how to download and install the Digi Navigator application.
Note Microsoft Visual C++ is required for RealPort and is installed by default during the Digi Navigator install process.
- Navigate to the Digi Navigator support page.
Note The Digi Navigator application can also be downloaded from your device's product support page.
- Scroll down to the Product Resources tab, and in the Drivers & Patches section, click Digi Navigator.
- From the list box, select the appropriate Microsoft Windows option from the list of driver options.
- Click the download link to download the Digi Navigator application.
- When the download is complete, click on the downloaded .exe file. The Digi Navigator Setup wizard displays.
- In the License Agreement page, review the agreement and select the I accept the agreement option.
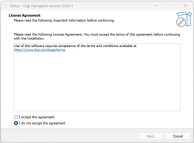
- Click Next. The Select Destination Location page displays.
- You can leave the installation location as the default, or click Browse to select a different location.
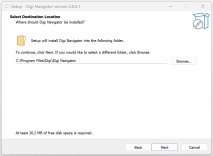
- You can leave the installation location as the default, or click Browse to select a different location.
- Click Next. The Select Additional Tasks page displays.
- If you want to create a shortcut for the Digi Navigator, select the Create a desktop shortcut option.
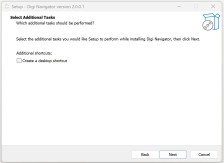
- If you want to create a shortcut for the Digi Navigator, select the Create a desktop shortcut option.
- Click Next. The Ready to Install page displays.
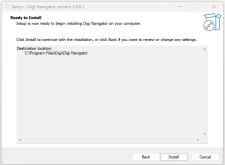
- Click Install to start the installation. When complete, the Completing the Digi Navigator Setup Wizard page displays.
The Launch Digi Navigator option is selected by default. De-select this option if you don't want the Digi Navigator to automatically launch each time you boot your computer.
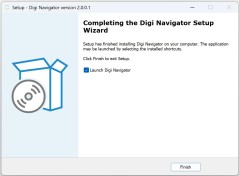
- Click Finish to complete the installation process. If the Launch Digi Navigator option was selected, the Digi Navigator launches.
NEXT STEP: Configure RealPort on a device. See Configure RealPort on a Digi device from the Digi Navigator.
 PDF
PDF


